Testing cables with a multimeter
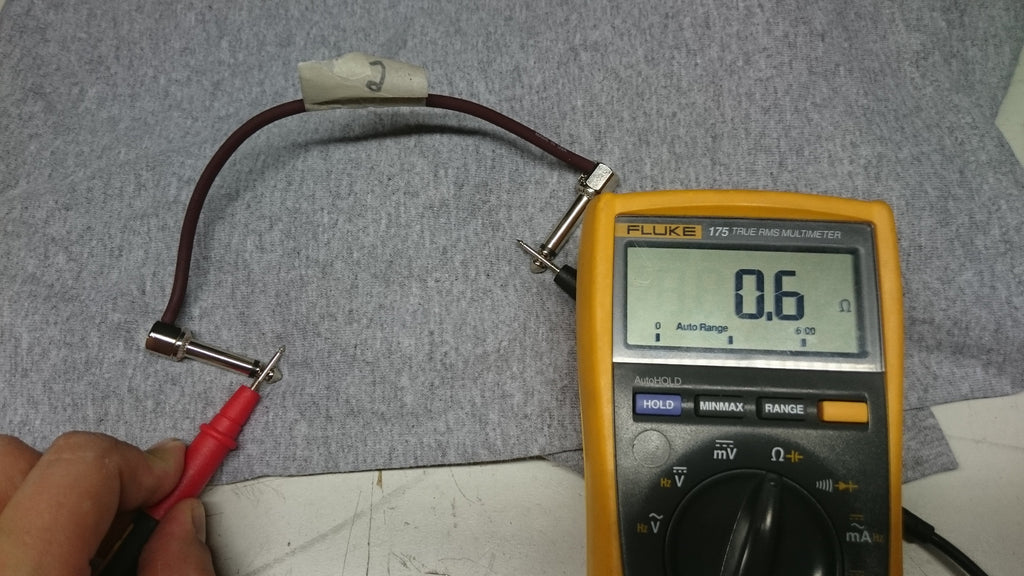
1) Tip to tip (hot)
- Set your multimeter to resistance (ohms; symbol: Ω), choosing a very small scale.
- Place both plugs of the same cable on the wooden surface of your table. Don’t touch the plugs, use the multimeter’s probes to keep them down. If you want, you can also place a towel (or a piece of cloth) underneath the plugs.
- Touch both plug tips with the probes – the red one going to one plug, the black one to the other.
2) Sleeve to sleeve (ground/earth)
- Set your multimeter to resistance (ohms; symbol: Ω), choosing a very small scale.
- Place both plugs of the same cable on the wooden surface of your table. Don’t touch the plugs, use the multimeter’s probes to keep them down.
- Touch both plug sleeves (the long parts of the plug) with the probes – the red one going to one plug, the black one to the other.

3) Resistance between tip (hot) and sleeve (ground)
- Set your multimeter to resistance (ohms; symbol: Ω), choosing again a very small scale.
- Place both plugs of the same cable on the wooden surface of your table. Don’t touch the plugs, use the multimeter’s probes to keep them down.
- Touch both plugs with one probe touching the tip of the first plug, and the second probe making contact with the sleeve of the second plug.

This test shouldn’t give you an ohm reading at all, as the resistance should be infinite.
Measuring the capacitance of signal cables
For this test you will need a genuine capacitance meter. Most multimeters feature a capacitance setting, but the measurements wouldn’t be precise enough for our purposes, because we need to measure very specific values. At Custom Boards we use an Agilent U1732B.
- Set your meter to C for capacitance.
- Push one of the cable’s plugs firmly against the wooden table. Don’t use your hand, use the meter’s probes instead.
- Touch both contacts of the same plug with the probes; one on the tip, the other on the sleeve.

A proper cable should measure a capacitance value of 100 pF per metre.
This means a 20 cm long patch cable should give you a reading around 20 pF.
The reading can be quite a bit higher, without it meaning that there’s anything wrong with the cable. Capacitance values are frequency-dependent – we’ve found that 1 kHz generally gives you reliable readings.
- Look for discrepancies between different cables, and make sure that changes in capacity are in the correct relation to the cable’s length.
- If you’ve made your cables correctly, you will be able to guess fairly accurately a cable’s capacitance value, after you’ve been measuring for a little while.
- You could also make notes of the capacitance values for your guitar cable, and all the signal cables in your cable loom. These values can later be compared with the measurements taken from your other cables.
*****
If you have purchased all the parts and components but get a feeling that you might not be up to the task after all, we can make your pedalboard for you, using the components you have bought from us. Don’t worry, we won’t let anything go to waste.