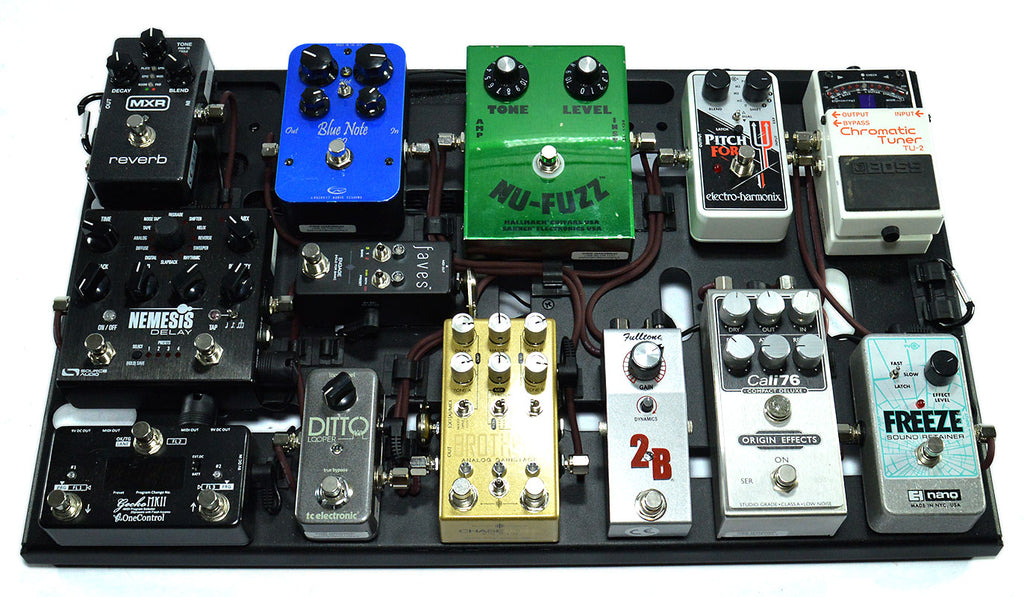
Testing the pedalboard
Testing the pedalboard is very important to the success of the whole project. During this test you should listen carefully to the sound and noise level of your board. If there is any problem coming to light now, you can rearrange some pedals’ placement, or even swap a pedal for a different model.
Play your instrument while going through all your effects one by one. Make sure each pedal works as it should, just as they did during the first test. This step is mainly formal, but it allows you to listen that nothing has changed while you have attached and dressed the patch cables.
In some cases, the final installation of the patch cables can affect how a certain effect reacts to another, but this is very rare if you’ve been careful during the first testing phase.
Listen to your bypass sound
Set aside any preconceptions regarding true bypass and buffered pedals, and just listen carefully to your guitar sound with all pedals hooked up in series but turned off.
Capacitance caused by the pedals and the sum of all the cables and their connectors, will make your sound dull. If playing your guitar through the board with all effects off sounds noticeably darker than plugging it directly into your amp, this is quite likely the result of too much capacitance. Impression is pretty much the same that your guitar tone potentimeter would not be fully open.
To listen your bypass tone use a clean, bright amp setting and the guitar’s neck pickup.

- Play an open D chord arpeggio at the 14th fret with even strokes, plugging straight into the amp using the same cable you will use to connect your guitar to your board in the future.
- Listen especially well to the timbre of the third harmonics. How clear and bright is your pick’s attack click? What do the mid-range frequencies sound like? Are they open and chiming, or are they very nasal?
- Next plug in the same guitar lead into your board, and connect the board to your amp with your cable loom. Make sure and double-check that all your effects are really turned off – even your wah. Your volume pedal must be fully up. If any effects have no indicator light, turn them on and off to make sure they’re really off.
- Play the same pattern in the same way you did before. Did the sound change?
If your tone is noticeably darker and/or rounder than with the guitar plugged straight into the amp, it will be the result of the added capacitance coming from the plugs, jacks, patch cables, and cable loom components.
If you plan to keep one effect on at all the times, it´s circuit will eliminate any possible built-up capacitance, because the pedal is now working as a buffer. This means you propably won’t have any problems with your bypass sound.
There are some cases in which a slightly smoother top end is a plus, but usually you should have at least one effect with switchable integrated buffer, like all Strymon pedals.

– Turn the buffer on, and repeat the test. If any small loss of treble really bugs you, you should consider replacing one of your true bypass effects with a buffered pedal or an separate, dedicated buffer.
The main point is having a bypass tone that pleases your ears, and which doesn’t require too much EQ-compensation to bring back lost presence or treble. If you compensate for capacitance loss by using your amp’s EQ, you will run into problems, because switching on any of the board’s effects will negate the capacitance, and make the guitar sound too trebly. You have to get your bypass sound in order first.
Too many buffers
In some cases the sound going through the board with all effects off will sound too bright and clanky. This may be due to too much buffering. Again, the best solution would be if any buffers inside your effects could be switched on and off separately from the pedal’s effect circuit. If there’s too much shrillness in your signal, you might have to consider swapping one buffered pedal for a true bypass model.

If you can’t get a decent bypass tone, and your guitar sounds muddy even with a buffer added, you should check that none of your cables accidentally still has the black graphite capacitance insulation around its hot conductor left. If you’ve forgotten to peel that graphite layer off, it will load your signal and turn it into a muddy mess. Using a capacitance meter is the easiest way to make sure your cables aren’t causing your problem.

Should you own an iPad (or other tablet) you could also use an audio interface (like the Alesis iO Dock) to measure your audio signal with a metering app, like Audio Tools by Studio Six Digital, and have a look at its frequency curve. This can be a worthwhile additional tool to using your ears. The more versatile your tools, the better the results of your audio analysis. Still, in most cases using your ears will be good enough.
Checking for hum and noise
Once we’ve established that your bypass signal is healthy, we move on by adding more gain to the amp. The dirtier your amp setting, the easier it will be to spot any electronic noises and interferences caused by any of your effects.

Keep your guitar connected to the pedalboard’s first pedal, and the board hooked up to the amp with the loom. Turn your instrument’s volume completely off, and place the guitar on its stand. In place of your guitar you could also use a dummy plug with its ground and hot connectors hardwired.

- Plug only the (turned off) guitar or the dummy plug into the amp and listen for the amp’s own noise floor.
- Plug in your board. Do the effects cause any additional hiss, even with all the effects turned off? Make sure your wah’s off and the volume pedal fully on.
- Plug the guitar directly into your amp, again, with the instruments volume still off. Is there any less noise now?
Buffered effects will inevitably add a tiny amount of hiss to the signal, whenever the pedalboard is connected to the amplifier. A little bit of additional noise is normal, but too many buffers (or cheap ones) can make the additional hiss a real problem.
- Turn on all effects one by one, and listen for any suspiciously loud clicks or crackles. Some effects will click once or twice when they are first turned on, but these clicks should disappear when you turn the pedal on and off a few times in a row. This is completely normal.
- Next switch on more than one effect. You should check your most-used pedal combinations very thoroughly for any strange behaviour. Is there any additional buzz or hum in the signal? Make sure any effects sharing a split power cable behave normally.
- Check whether pedals situated next to each other will start to hum loudly when their patch cable plugs touch. If there’s a problem with a tendency for earth (ground) loop hum, you could use insulating tape on the plug covers to prevent any accidental contact. This test is especially important if some of your effects are routed to your amp’s FX loop.
- Check for any noises or crackles caused by bad contacts, by wiggling the audio and power connectors of your pedals. Hooking up a signal generator to your board will make this bit much easier (read the first chapter of this guide). The uninterrupted, neutral signal will make it easy to spot crackles or signal dropouts.
If there’s clearly noticeable hum or buzz coming from your monitoring system, check for any patch cables that might run too close to the power supply unit. It’s also possible that an effect sitting right on top of the PSU picks up the noise.

If your effects are really crammed together tightly on your board, some pedals might interact in strange and surprising ways. They might form what is called a parasitic circuit, meaning they react electronically in ways not anticipated by their manufacturers.
Find the setup that’s least troubled by noise and hum, before attaching any of your effects to the pedalboard frame. A lot of the induced hum, as well as the noise from low-quality buffers, will be reduced simply by turning the amp’s gain levels to normal settings. Extreme gain settings are very useful during testing, though, because they show up any possible problems with parasitic circuits between pedals more clearly.

Listen to your effects
Finish the first test by playing through each effect on its own, using your regular settings. This is a routine part of testing, because, strange as it may seem, effects usually produce less problems while they’re turned on and running. An active effect always works as a buffer, negating any possible signal deterioration caused by capacitance, but – as explained before – it is important to have a healthy bypass signal, otherwise the restored presence of the effect can make your tone too shrill.
*****
If you have purchased all the parts and components but get a feeling that you might not be up to the task after all, we can make your pedalboard for you, using the components you have bought from us. Don’t worry, we won’t let anything go to waste.